

How to Replace NTLM With Basic Authentication With a Proxy
How to Seamlessly Translate Basic Auth to NTLM in Your API Services Using Node.js


In today's interconnected world, where various applications and services interact seamlessly, encountering authentication protocols like NTLM can present unique challenges. This was precisely my dilemma when I encountered an API service requiring NTLM authentication, while my client did not support it. To bridge this gap, I devised a solution using Node.js to create a proxy that translates basic authentication credentials into NTLM authentication. This article outlines the process, including how to dockerize and deploy the solution using Docker Compose.
Understanding the Challenge
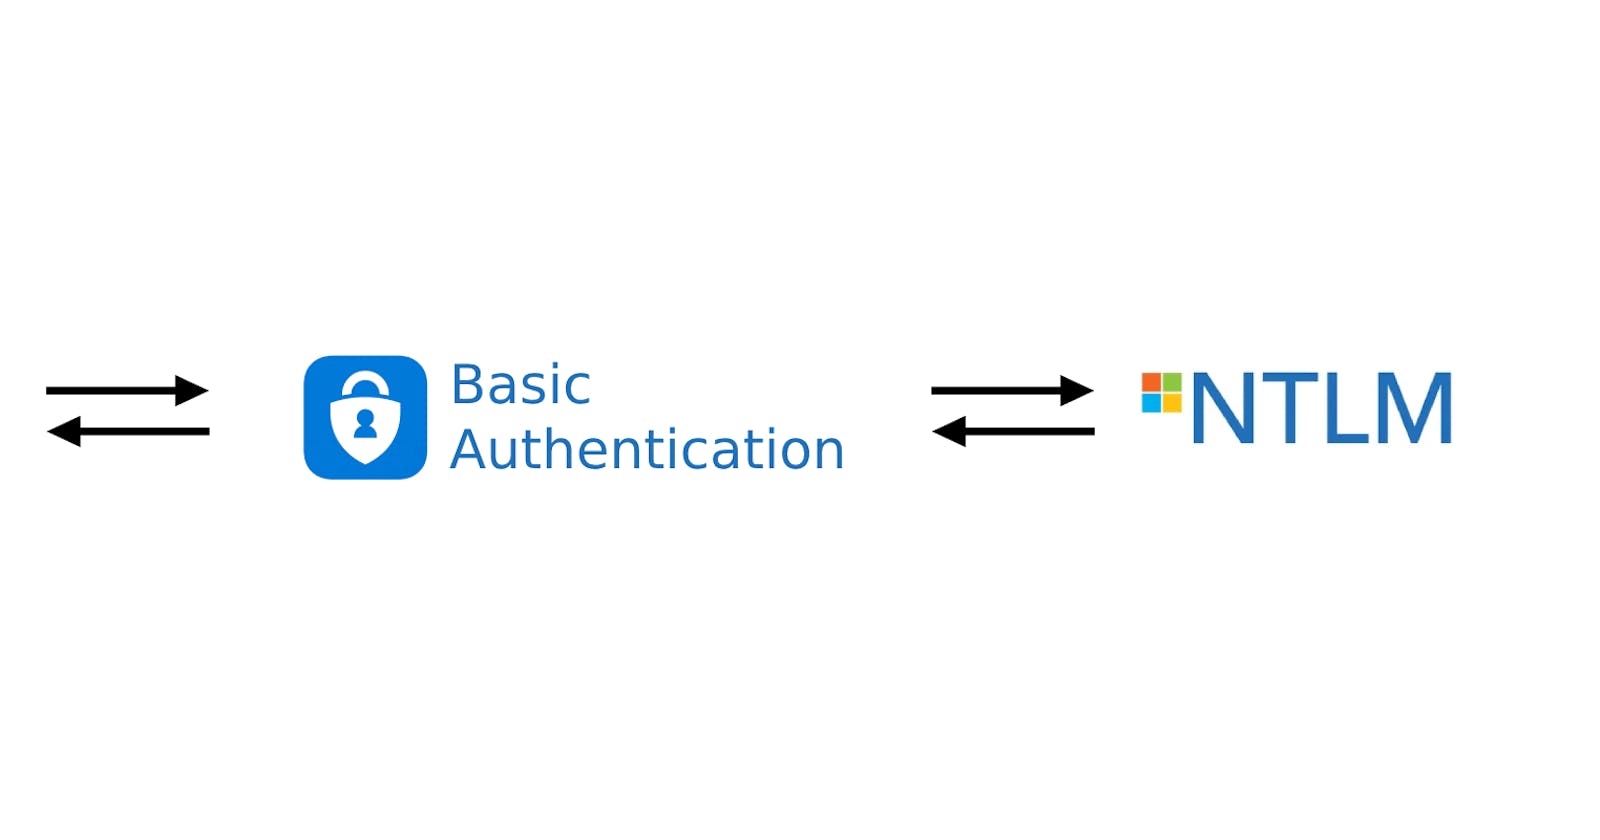
NTLM is a Microsoft authentication protocol used in Windows networks. While it's been largely replaced by more modern and secure methods, many legacy systems still rely on it. In contrast, Basic Authentication, a simpler HTTP authentication scheme, is widely supported but less secure. The need to connect a modern client that supports Basic Authentication to an NTLM-authenticated service necessitated an innovative solution.
The Node.js Proxy Solution
The core of this solution is a Node.js application that acts as a proxy. This proxy takes incoming Basic Authentication requests, extracts the username and password, and then uses these credentials to perform NTLM authentication with the target service.
Key Features of the Proxy:
Basic to NTLM Authentication: Seamlessly translates Basic Authentication headers to NTLM tokens.
Flexibility: Easily configurable to target different services.
Security: Ensures credentials are handled securely and minimizes exposure.
How It Works:
Receiving Requests: The proxy listens for incoming HTTP requests with Basic Authentication headers.
Credential Extraction: The username and password are extracted from the header.
NTLM Authentication: These credentials are then used to create an NTLM token, which is used to authenticate with the target service. Response Relay: Finally, the response from the service is relayed back to the original client.
Creating the Solution
Step 1: Initialize a NodeJS project
npm init -y
Step 2: Install packages
npm install atob express express-http-proxy httpntlm morgan
Step 3: Create server.js file
const express = require('express');
const morgan = require('morgan');
const httpntlm = require('httpntlm');
const atob = require('atob');

const app = express();
const port = process.env.PORT || 80;
const upstream = process.env.UPSTREAM|| "http://127.0.0.1:8080";

// Morgan for logging
app.use(morgan('dev'));

// Basic Auth Translation
app.use((req, res, next) => {
    const authHeader = req.headers.authorization;
    if (!authHeader) {
        return res.status(401).send('Authorization header is missing');
    }

    const [username, password] = atob(authHeader.split(' ')[1]).split(':');
    req.credentials = { username, password };
    delete req.headers.authorization;
    next();
});


// Proxy endpoint
app.use('/', (req, res) => {
    const { username, password } = req.credentials;

    const ntlmOptions = {
        username: username,
        password: password,
        url: `${upstream}${req.url}`,
        method: req.method,
        headers: req.headers,
        body: req.body,
    };

    httpntlm[req.method.toLowerCase()](ntlmOptions, (err, ntlmRes) => {
        try {
            if (err) {
                return res.status(500).send(err);
            }
            Object.keys(ntlmRes.headers).forEach(key => {
                res.setHeader(key, ntlmRes.headers[key]);
            });
            res.status(ntlmRes.statusCode).send(ntlmRes.body);
        } catch(error) {
            return res.status(500).send("Unknown internal error.");
        }
    });
});

app.listen(port, () => {
    console.log(`Reverse proxy listening on port ${port}`);
});
Setting up Express App and Configuration:
Initializes the Express application.
Defines
portfor the server (default 80) andupstreamURL (the target NTLM service).
Basic Auth Translation Middleware:
Intercepts incoming requests to extract the
Authorizationheader.Decodes the Base64-encoded credentials (username and password) from the header.
Stores these credentials in
req.credentialsand removes theAuthorizationheader that came with basic autentication before passing to the next middleware.
Proxy Endpoint:
Captures all requests to the root endpoint ('/').
Constructs
ntlmOptionswith the extracted credentials, method, headers, and body of the incoming request.Uses
httpntlmto send the request to the upstream NTLM service, specifying the request method (GET, POST, etc.).
Handling NTLM Responses:
On receiving the response from the NTLM service, forwards the headers, status code, and body back to the original client.
Implements error handling for failed NTLM requests or internal errors.
Dockerizing the Solution
Dockerizing the application makes it portable and easy to deploy.
# Use an official Node runtime as a parent image
FROM node:14

# Set the working directory in the container
WORKDIR /usr/src/app

# Copy package.json and package-lock.json (or npm-shrinkwrap.json) into the container
COPY package*.json ./

# Install any needed packages specified in package.json
RUN npm install

# Copy the rest of your app's source code from your host to your image filesystem.
COPY . .

# Make port 3000 available to the world outside this container
EXPOSE 80

# Define environment variables
ENV PORT 80

# Run the app when the container launches
CMD ["node", "server.js"]
Deploying with Docker Compose
version: '3.8'

services:
  ntlm-proxy:
    build: .
    ports:
      - "80:80"
    environment:
      PORT: 80
      UPSTREAM: "the target NTLM service"
    restart: always
Conclusion
This Node.js proxy serves as a versatile bridge between modern applications requiring Basic Authentication and legacy services using NTLM. Dockerization adds an extra layer of portability and ease of deployment, making it a robust solution for integrating disparate systems.
By sharing this solution, I hope to help others facing similar authentication challenges, demonstrating that with a bit of creativity and technical know-how, even the most complex interoperability issues can be effectively solved.