

Access Your Home Lab Remotely with Tailscale: A Secure and Private Solution
Tailscale Setup Guide: Securely Access Your Home Lab from Anywhere


Introduction
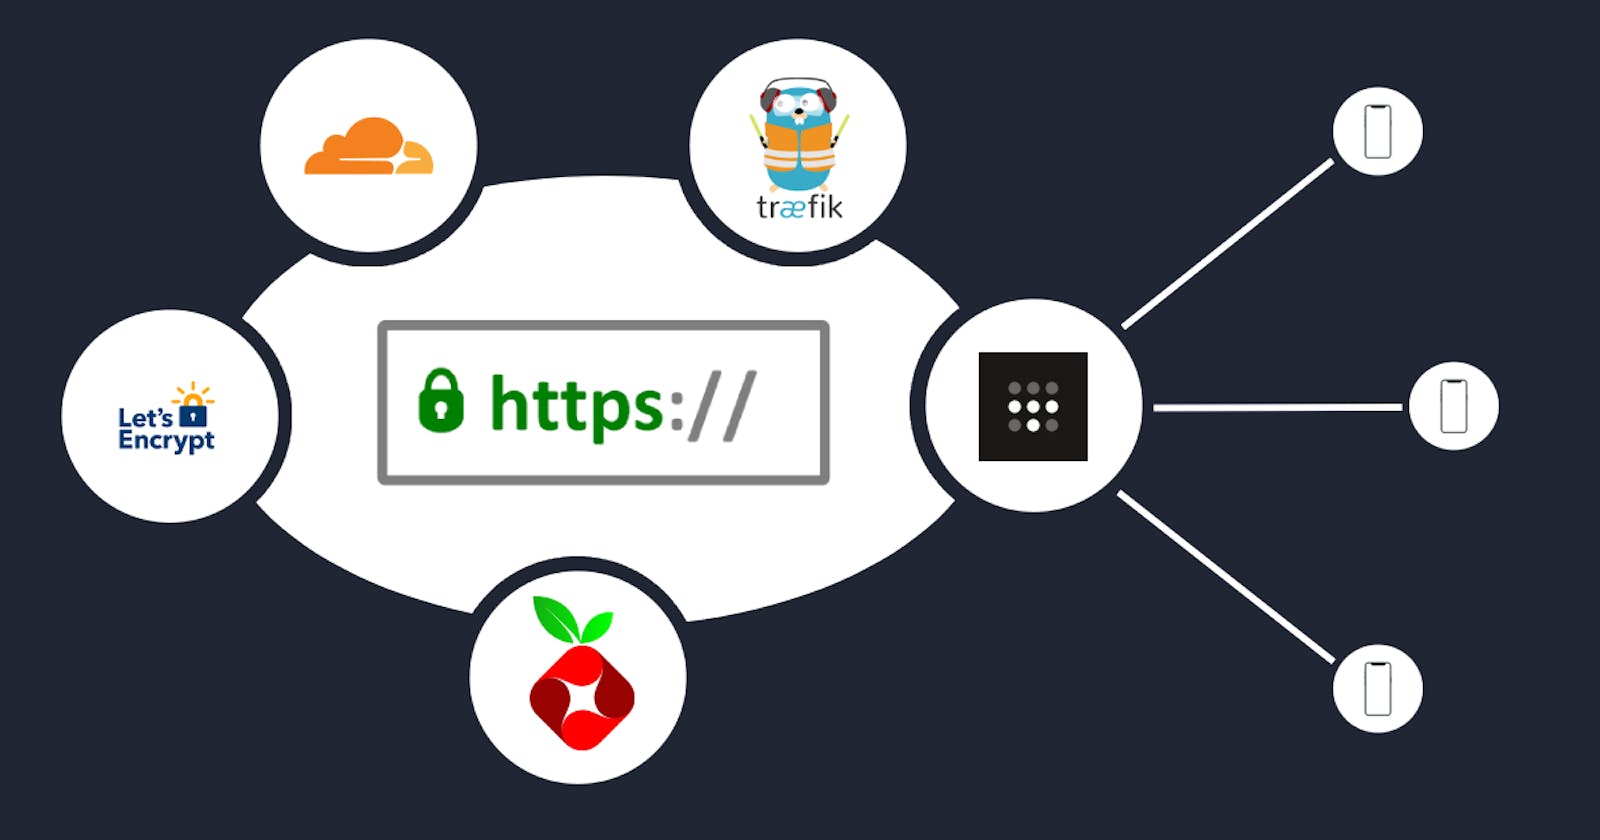
Welcome to the second part of our series on securing your home lab! In the previous article, we showed you how to set up Traefik, Pi-hole, and Cloudflare for secure and convenient access to your self-hosted services within your local network. However, what if you need to access your home lab remotely? Exposing your services to the public internet can be risky, and that's where Tailscale comes in. In this article, we'll explore how to use Tailscale to access your home lab remotely without exposing it to the public.
Important: This article is a continuation of the series on securing your Home Lab. Please ensure you have completed the previous steps outlined in "Securing Your Home Lab with FQDNs and SSL" before proceeding, as this article assumes a working knowledge of those configurations.
Read part 1 here..
Section 1: Introduction to Tailscale
Tailscale is a revolutionary networking tool that enables secure, private, and easy-to-use remote access to your home lab or any other network. It's a peer-to-peer (P2P) VPN solution that creates a secure, encrypted connection between your devices, allowing you to access your home lab from anywhere in the world.
What is Tailscale?
Tailscale is an open-source, zero-configuration networking tool that utilizes the WireGuard protocol to establish secure connections between devices. It's designed to be easy to use, fast, and secure, making it an ideal solution for remote access to your home lab.
How does Tailscale work?
Tailscale creates a virtual network interface on each device, allowing them to communicate directly with each other. This P2P approach eliminates the need for a centralized server or relay, ensuring that your data remains private and secure. When you connect to your home lab using Tailscale, your traffic is encrypted and routed directly to your lab, bypassing the public internet.
Benefits of using Tailscale for remote access
Security: Tailscale encrypts all traffic between devices, ensuring that your data remains private and secure.
Ease of use: Tailscale is incredibly easy to set up and use, with no complex configuration required.
Flexibility: Tailscale supports a wide range of devices and operating systems, making it a versatile solution for remote access.
By leveraging Tailscale for remote access, you can enjoy secure, private, and convenient access to your home lab from anywhere in the world. In the next section, we'll explore how to set up Tailscale and integrate it with your existing home lab setup.
Section 2: Setting up Tailscale
Setting up Tailscale involves creating an account, installing Tailscale using Docker, and configuring your network. Here's a step-by-step guide to get you started:
Step 1: Create a Tailscale account
Go to the Tailscale website and create a new account. Theis will give you the access to the admin dashboard where you monitor and manage your network.
Step 2: Create an Auth Key
Go to Settings and then Keys
Under Auth Keys, click on Generate Auth Key..
Give it a description and set the Expiration to 1 day.
Step 3: Install Tailscale using Docker
We'll use Docker to install Tailscale. Create a new file named compose.yml with the following contents:
services:
  tailscale:
    image: tailscale/tailscale:latest
    hostname: homelab-tailscale # Change this
    container_name: tailscale
    environment:
      - TS_AUTHKEY=${AUTH_KEY} # Change this
      - TS_STATE_DIR=/var/lib/tailscale
      - TS_ROUTES=192.168.1.0/24 # Change this
      - TS_EXTRA_ARGS=--accept-routes
    volumes:
      - ./state:/var/lib/tailscale
      - /dev/net/tun:/dev/net/tun
    cap_add:
      - net_admin
      - sys_module
    restart: unless-stopped
hostname: Give a host name that explains the device that you are installing this on.
TS_AUTHKEY: Auth Key you created in step 2
TS_ROUTES: Define the IP range of your local network that you want to make accessible to other devices on your Tailscale network. This allows you to specify which specific subnet or subnets you want to expose to the Tailscale network, enabling secure and private access to your local resources.
Step 4: Start Tailscale
Run,
docker compose up -d
Now go to Tailscale Admin Dashboard. You should see the new Machine.
Allow Published Subnet
Now click on the More options of the device (threee dots).
Select Edit route settings..
Accept the subnet you configured.
That's it! You've successfully set up Tailscale using Docker. In the next section, we'll explore how to securely access your home lab services from Tailscale from other devices.
Section 4: Configure your Tailscale network to use your Pi-hole as DNS
Now that you have Tailscale set up, it's time to configure your Tailscale network to use your Pi-hole as the DNS provider for the devices on your tailscale network. So, when you are at a remote location and connected to your Tailscale network, it will use your Pihole as DNS for yourdomain.com.
Add Split DNS Nameserver
In the DNS settings page, click on the "Add nameserver" dropdown. Select "Custom" and enter the following details:
Nameserver: Enter the IP address of your Pi-hole instance.
Restrict Domain: Turn on restrict domain and enter your domain name. This will restrict your devices to use Pihole as DNS just for your domain.
Section 5: Verify Remote Access with Tailscale App
Download the Tailscale app on your mobile device and log in to your account.
Verify Device Connection
Your mobile device should now appear on the Tailscale Admin Dashboard, indicating a successful connection.
Enable Connection
Turn on the connection to establish a secure link with your Tailscale network.
Test Remote Access
Disconnect from your Home Lab network and attempt to access your services using the FQDN (Fully Qualified Domain Name) set up in the previous article.
Success!
If everything is configured correctly, you should be able to access your services successfully over the Tailscale network, demonstrating secure and private remote access to your Home Lab.
Section 6: Conclusion and Next Steps
Congratulations!
You have successfully set up Tailscale to provide secure and private remote access to your Home Lab services.
Recap
In this series, we covered:
Setting up FQDNs for your Home Lab services
Securing your services with SSL certificates
Installing and configuring Tailscale for remote access
Integrating Tailscale with Pi-hole for DNS management
Testing remote access with the Tailscale app
Next Steps
In the next article of the series, we'll explore how to set up site-to-site communication using Tailscale, enabling secure and private connectivity between multiple locations or networks. This will further enhance your Home Lab's security and flexibility, if you maintain multiple locations.
Stay tuned for the next installment of our series, where we'll dive into the details of site-to-site communication with Tailscale!
Stay Secure!
Remember, security is an ongoing process. Stay vigilant, and keep your Home Lab secure and private with Tailscale and other security best practices.
Thank You!
Thank you for following this series! We hope you found it helpful in securing your Home Lab and improving your overall security posture.